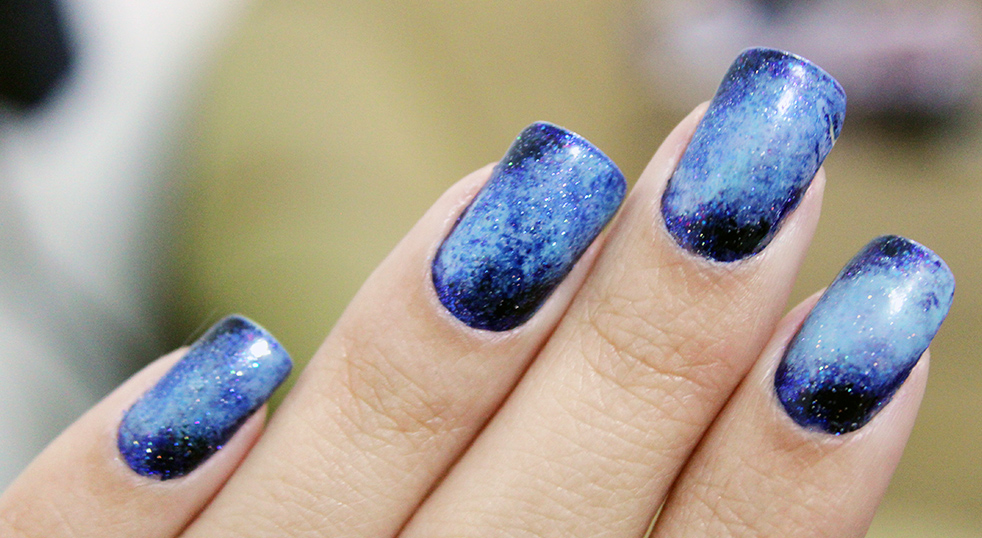
Easy To Apply Nail Stickers At Home : Applying nail stickers at home is a fun and creative way to add some extra flair to your nails. It is important to begin the process with a clean canvas; start by removing any existing nail polish and cleaning your nails with a mild soap and warm water. After drying your hands, you should then use a nail file to gently remove any ridges and shape the nails. If you have any signs of a fungal infection, such as discolored, brittle or thickened nails, it is important to visit your doctor for early diagnosis and treatment before applying the nail stickers. Once your hands are clean and dry, you can then start to apply the stickers in whatever pattern or design you like. It is important to leave some space between the sticker and the cuticle in order to prevent any lifting. Finally, you can use a clear top coat to seal and protect the sticker for longer lasting results.
How To Apply Nail Stickers?

Applying nail stickers is a great way to add some extra flair to your look. It’s easy to do, and can be done in the comfort of your own home. First, make sure that your nails are clean and free of any nail fungus or dirt. Next, choose the design of your nail stickers and cut it out. Then, place the sticker on the nail bed and press gently. Finally, use a clear topcoat to seal the design and make it last longer. With the right application and care, you can enjoy your stylish nail stickers for days.
Things You Will Need
- Scissors
- Nail File
- Clear Nail Polish
- Tweezers
Step 1: Make sure to wash your hands thoroughly. Clean your nails and remove any dirt that may be present.
Step 2: Apply one coat of clear nail polish to all of your fingernails. Your nails produce natural oil, and the stickers will not adhere to your nails correctly if they are not polished.
Step 3: Ensure that the base coat of your clear nail polish is dry. Afterwards, take the strip of nail stickers you’ve chosen and measure the sticker to your nail. Make sure it’s an exact match before taking it off the
Step 4: Avoid touching the adhesive side of the nail sticker as it might affect how well it sticks. To remove the nail sticker, use a pair of tweezers.
Step 5: Use tweezers to place the nail sticker on your nail very carefully.
Step 6: Use tweezers to even out the nail stickers (Shahnaz Husain Decodes Nail Art For Brides), working from the center to the edge of the sticker. Make sure there are no air bubbles under the sticker, and that the sticker is free of wrinkles before attaching it to your fingernails.
Step 7: Place the nail sticker in a way that the extra part of the sticker is on top. Cut off the excess part of the sticker with scissors.
Step 8: After you place the sticker on properly, use a nail file to file the nail.
Step 9: To properly seal the nail sticker on your finger, apply the last coat of clear nail polish to the nail.